Schedule Body
Schedule Body
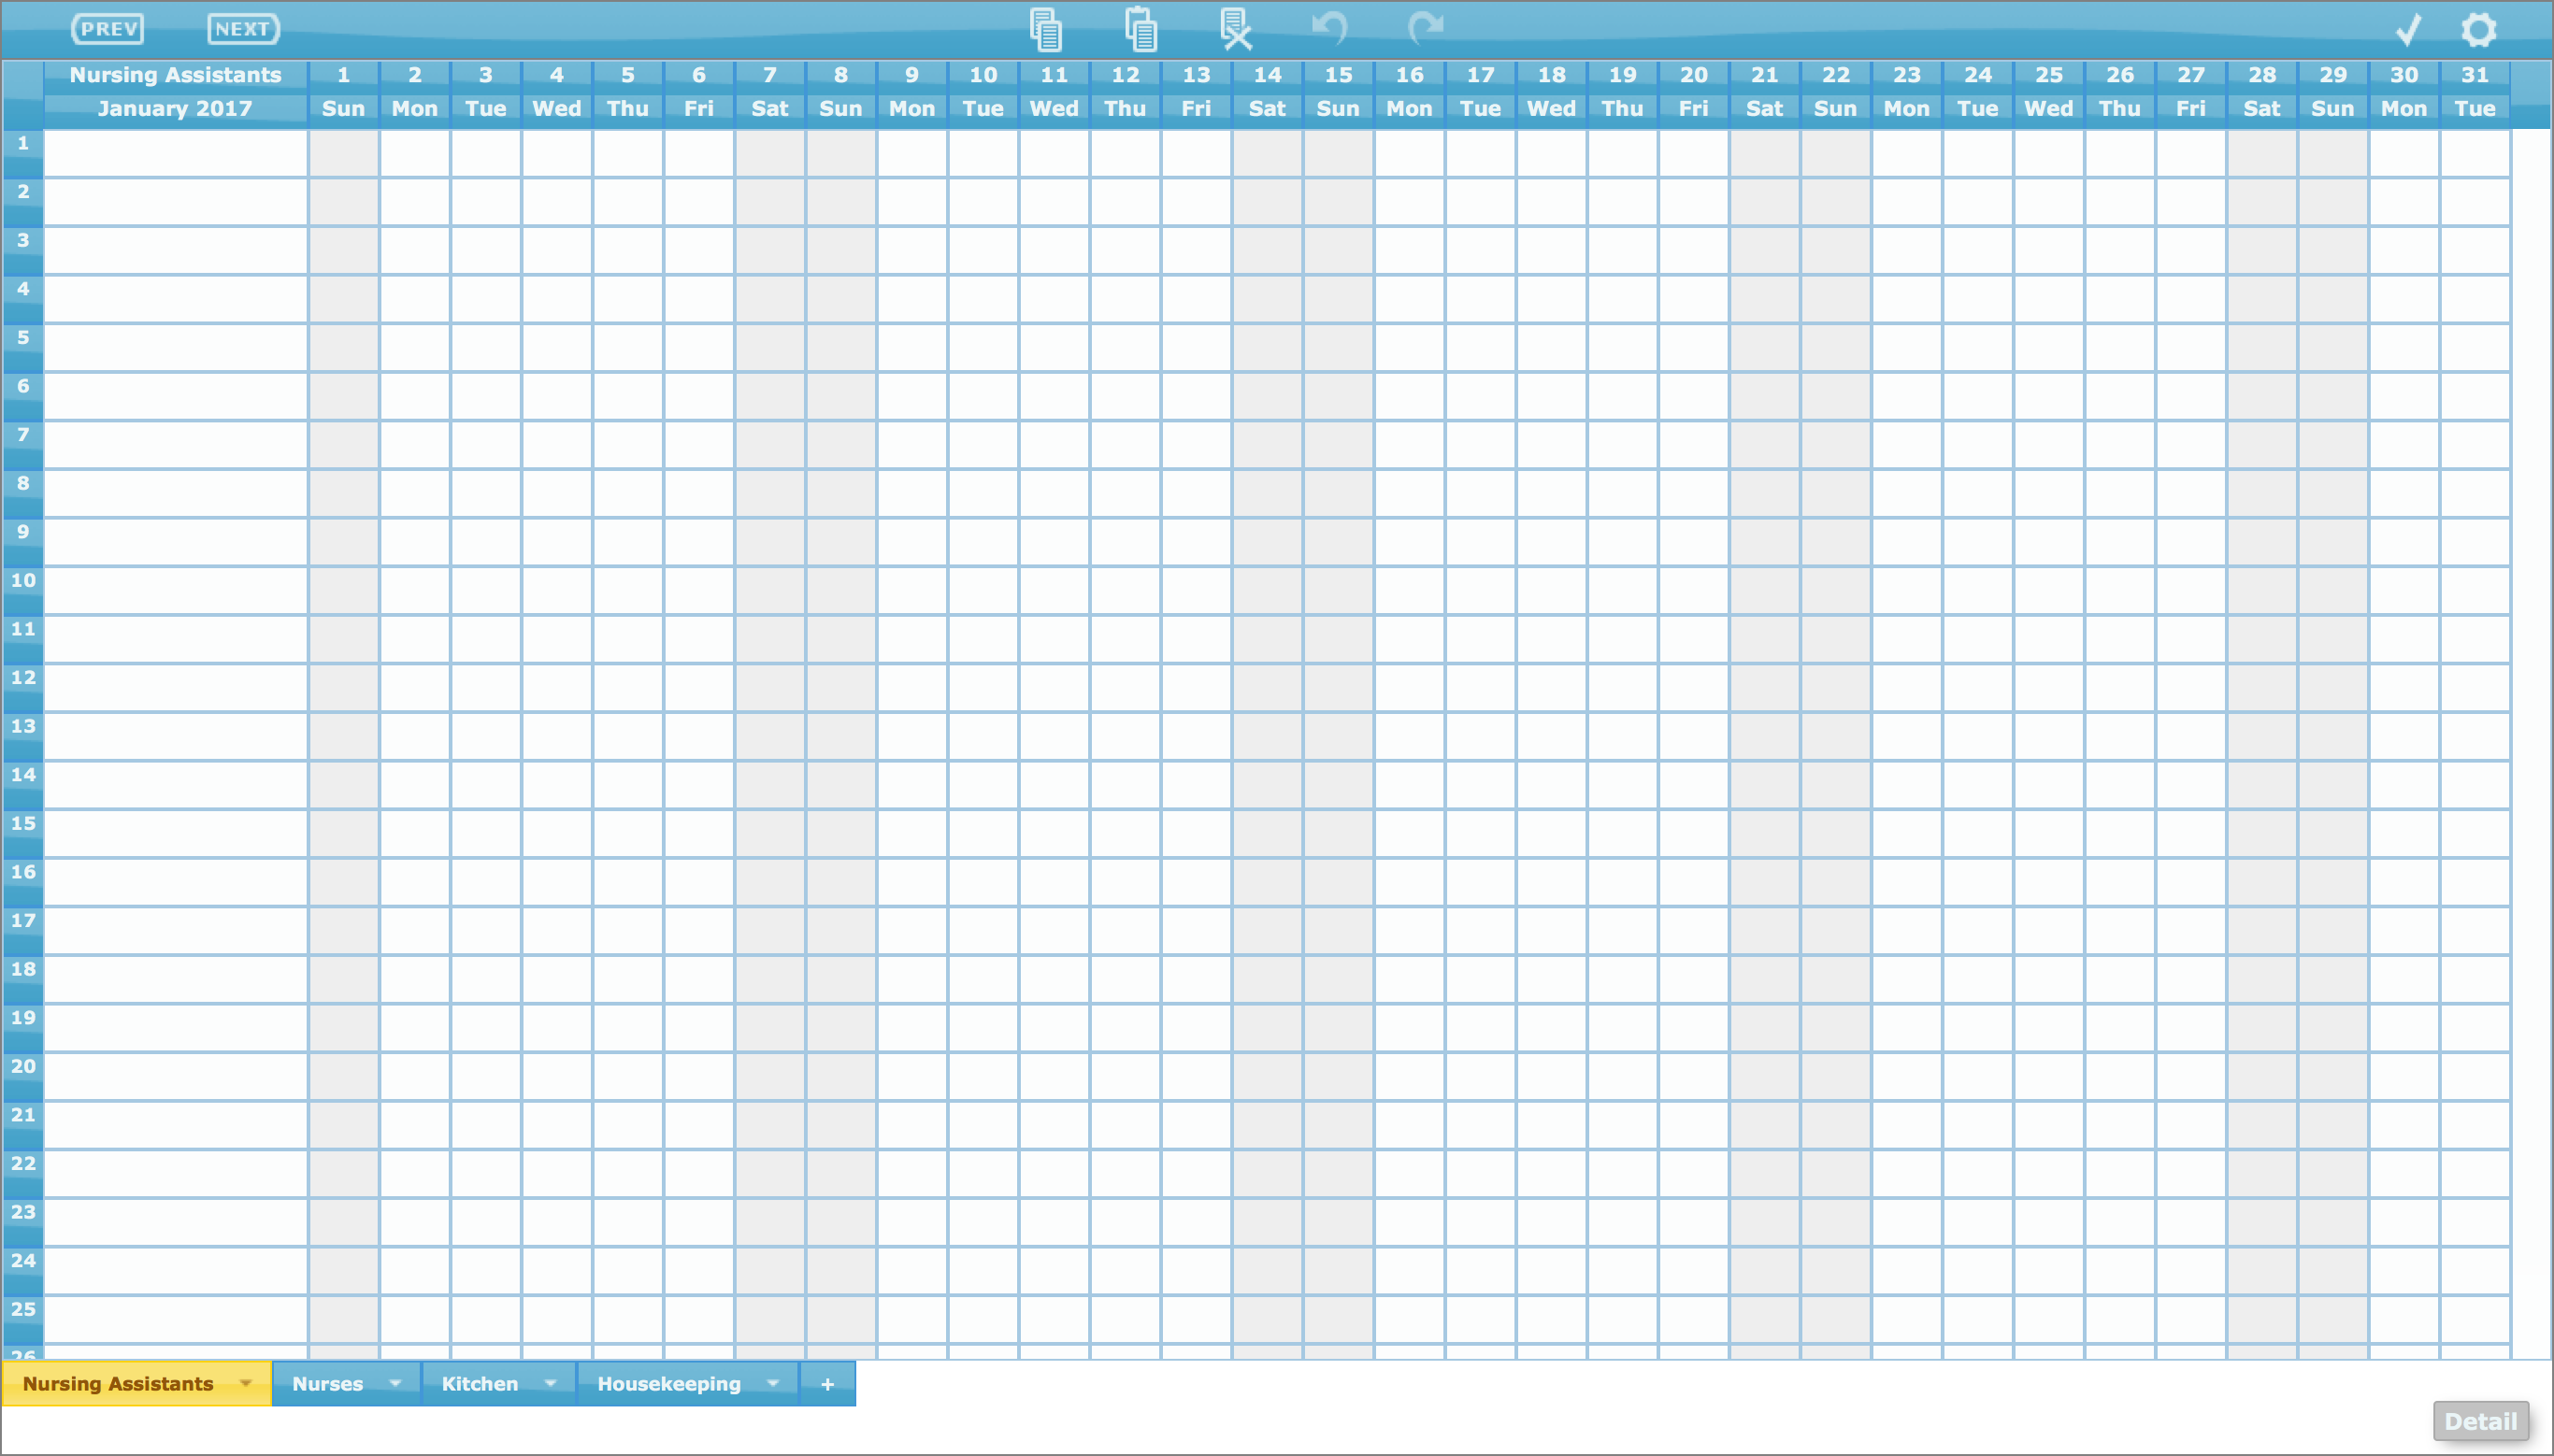
The schedule body is simply a spreadsheet. The engine behind the application makes use of the relationship between your scheduled shifts and associated hours providing powerful features and analysis.
Names of staff go in the left-hand column and shift abbreviations go in the other columns for the date range of the schedule.
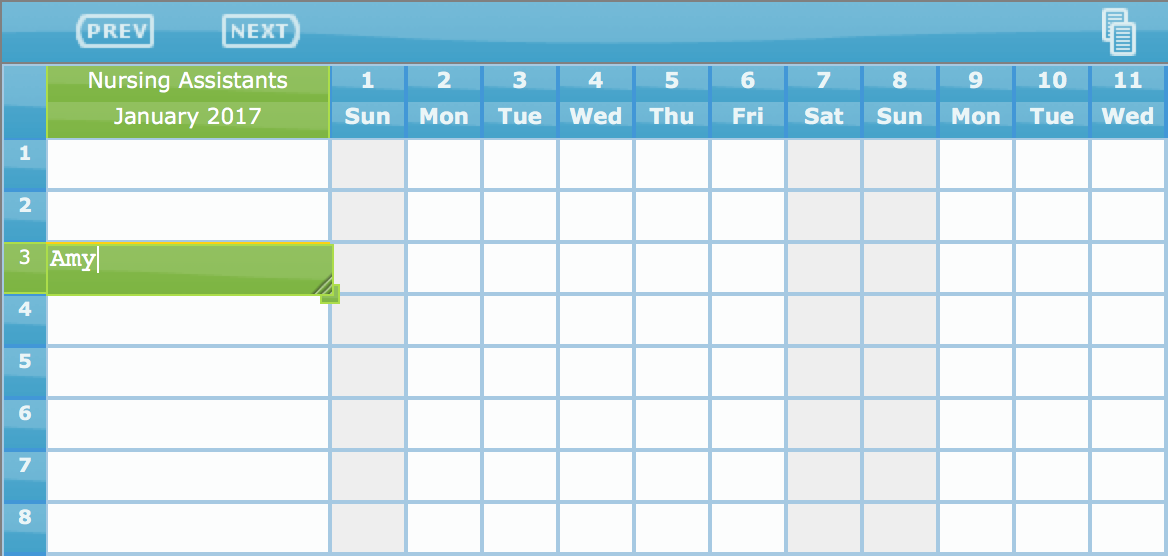
To navigate around the spreadsheet, you can use the arrow keys, tab and enter just as you would in other spreadsheet applications.
Enter Schedule Information
To enter schedule information, select a cell and begin typing.
Highlighting
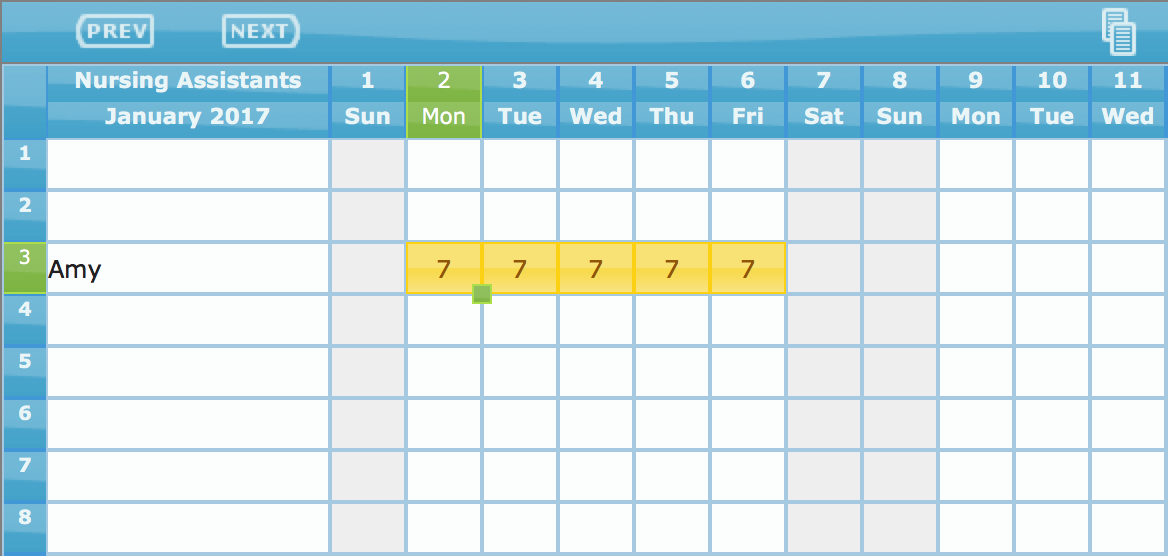
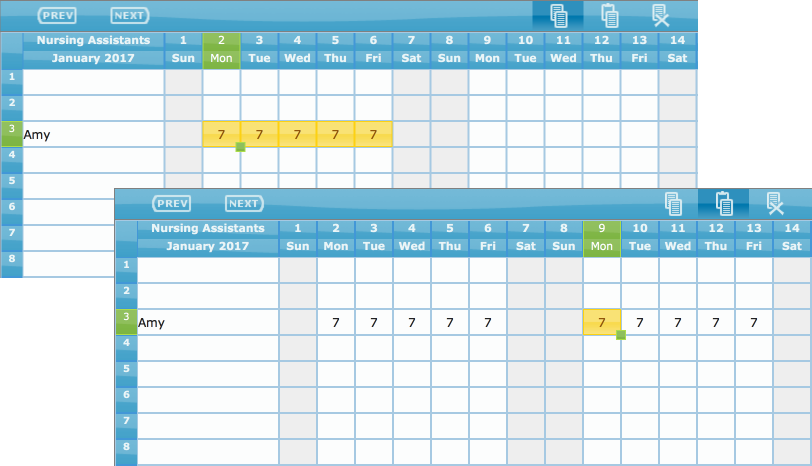
Highlighting of cells can be done by clicking (and holding down click) while dragging over the range of cells you wish to highlight. Here we're highlighting the 7 shift abbreviations coinciding with the 7am to 3pm shifts for Amy during the first week of January.
Copy/Paste/Delete
Within the Spreadsheet
With those cells still highlighted, we can click the copy button, select the cell that will mark the beginning of where we want the copied values to be pasted and click the paste button. Highlighting for copying, pasting and deleting speeds up workflow when creating or making changes to a schedule.
From Another Source
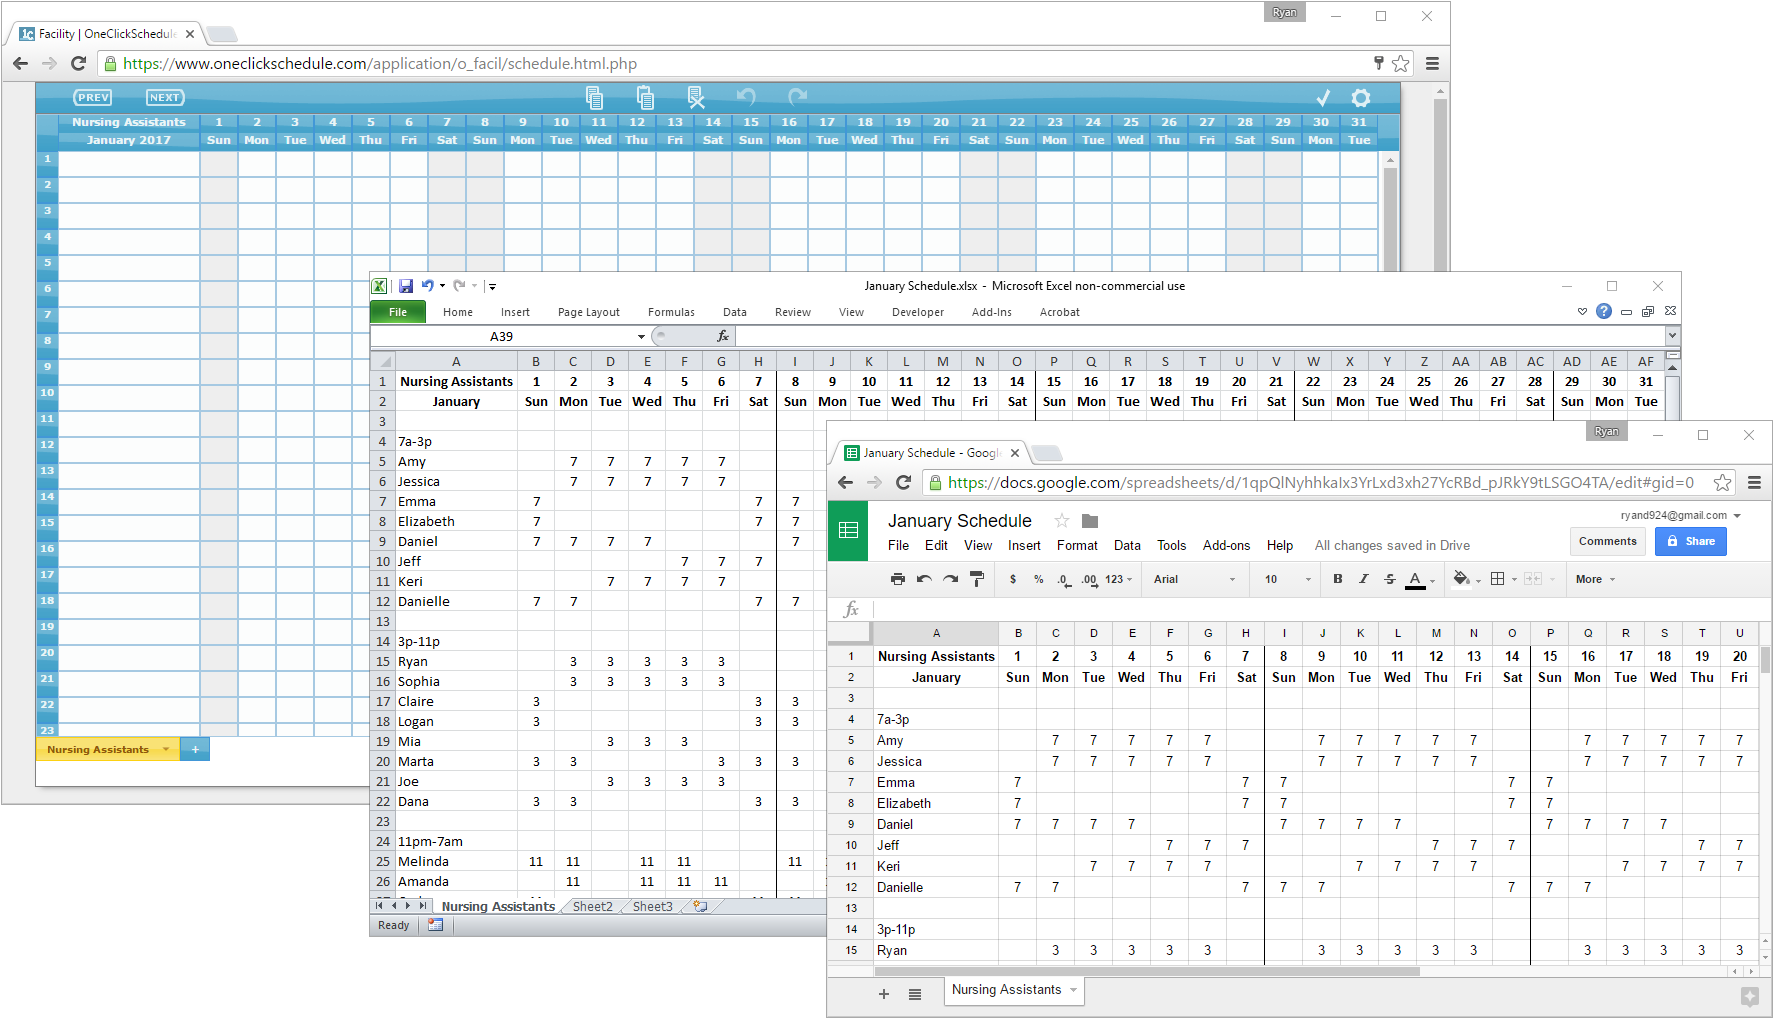
We can copy and paste from another source such as an Excel or Google spreadsheet, for example. To do so, select and copy (ctr+c or cmd+c) the range from the source spreadsheet to copy it to your computer's clipboard. Then select the cell of the starting position in One Click Schedule and paste (ctr+p or cmd+p).
{note} Note that only shift abbreviations existing in the Shift List are permitted for use in the schedule. This way all scheduled shifts will be accounted for and tracked correctly by the application.
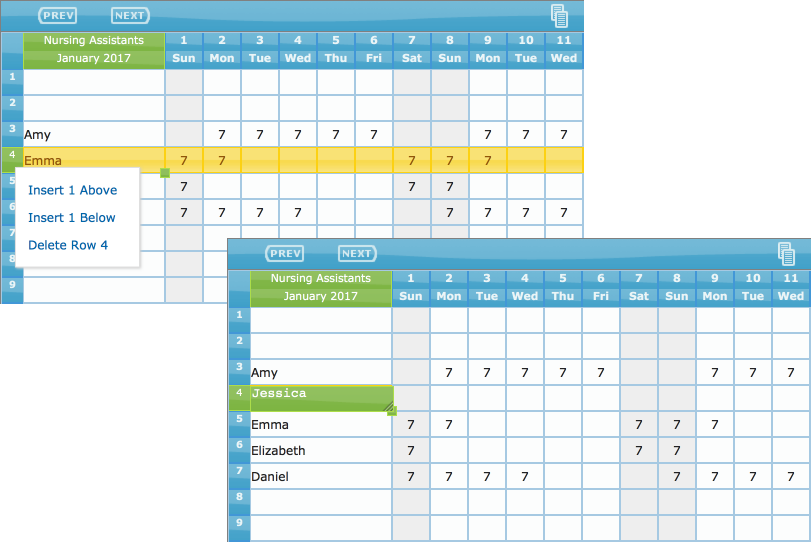
Insert/Delete Rows
Say we've added a few more people to the schedule and want to add Jessica in between Amy and Emma because Amy and Jessica have similar schedules, and we want to group similar schedules together. By clicking on the left-hand numbered column, we select Emma's row. (By clicking and dragging, we can select multiple rows, but for this example it's not necessary.) By then right-clicking, the pop-up menu appears giving us the ability to insert and delete rows. We choose to insert 1 above, and now we have a new row to begin entering the Jessica's schedule.