Bottom Bar
Bottom Bar
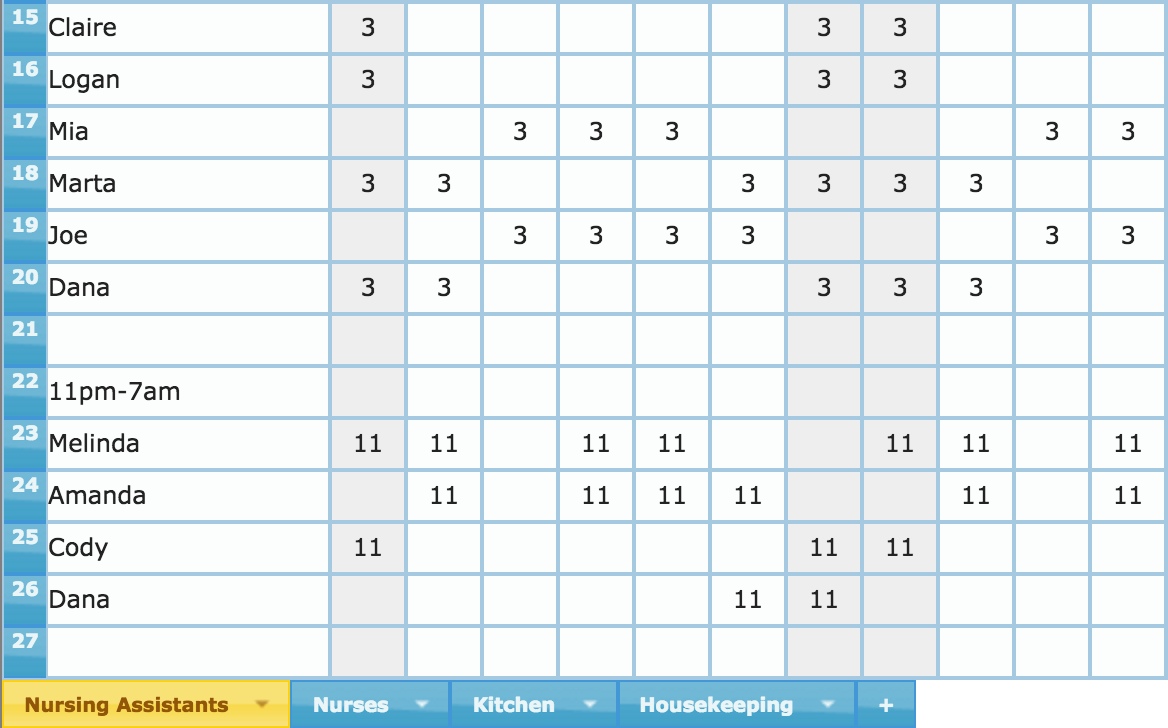
Tabs
The tabs at the bottom of the schedule allow you to switch between schedules if more than one schedule exists. The + tab allows you to add another schedule. As you can see here, we have 4 different schedules for 4 different departments within the facility.
Tab Pop-Up
By clicking on the arrow of the tab, you will see a pop-up menu with additional options for interacting with the schedule.
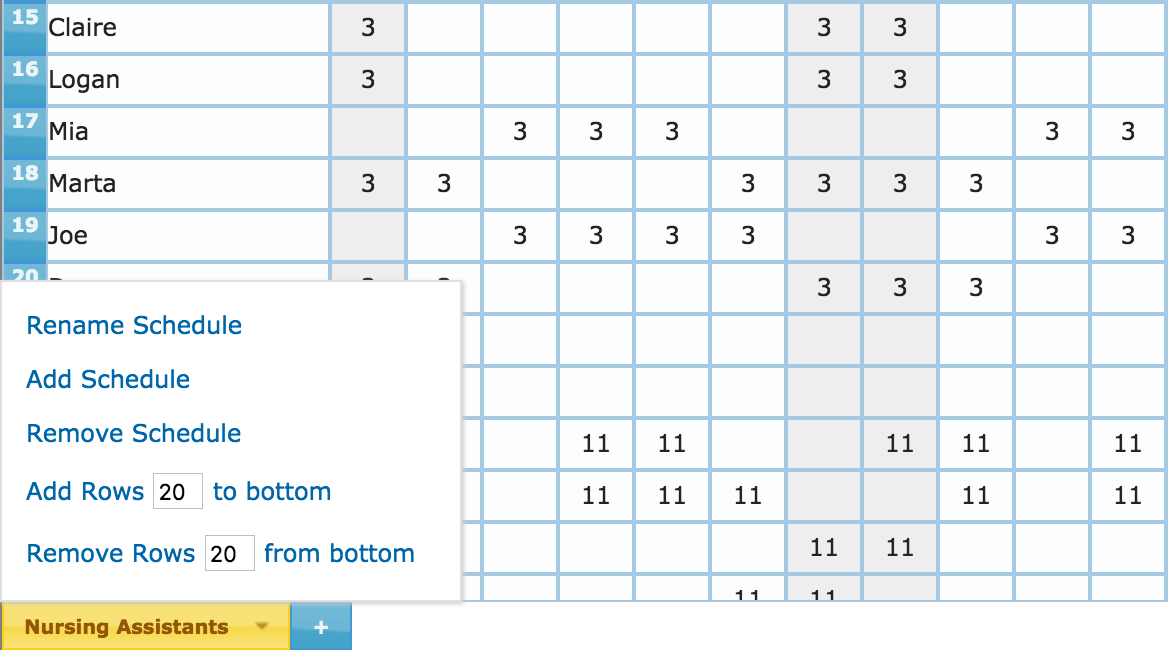
You can rename the schedule, add another schedule here as well, remove the schedule and add or remove rows at the bottom of the schedule.
Another way of renaming the schedule is by clicking on the name of the schedule in the tab itself.
Detail Button
In the lower right-hand corner of the schedule, the Detail button toggles the view of staff related information.

With the detail section open, as you click on different rows in the schedule, the Schedule Name auto-populates with the respective staff name.
The associated staff First Name, Last Name, email and phone can be keyed in. Other application features rely on this detail. For example, the Publish Schedule feature relies on the email field for electronically transitting schedules to staff.
Note that the Schedule Name can differ from the First Name. For example, if there were a Dana Smith and a Dana Lopez on the schedule, one may have the Schedule Name Dana S and the other Dana L to distinguish between them on the schedule.
{note} A main reason for not initially requiring staff detail in order to create a schedule is for you to be up and running in a matter of minutes and have immediate access to the powerful features and analysis that the application provides. When you are ready to begin making use of the feature that require individual staff details, this is where that information is to be entered.